— The guide
Ear Piercing Chart: Every Placement Named and Numbered
An ear piercing chart with every placement numbered, from lobe to helix, conch, rook, daith and tragus, with pain, healing and usual jewellery.

Helix, daith, rook, conch, tragus: if the names blur together, an ear piercing chart sorts them out in seconds. Below you'll find one simple numbered diagram of the ear with every common placement, then one table showing where each one sits, how much it typically hurts, how long it usually takes to heal and the jewellery it's normally done with. After that, short sections walk through each zone of the ear and how your own anatomy decides which placements are possible.
Ear piercing chart: every placement numbered
The diagram shows a right ear from the side, with the face to the left. Each number marks where that piercing usually goes. It's a simplified drawing, not a medical illustration: real ears vary a lot, and a piercer will always mark the exact spot on your ear, not on a chart.
A quick tip on the names: most are borrowed from the anatomy of the ear. The helix is the outer rim, the tragus is the small flap in front of the ear canal, the conch takes its name from the bowl in the middle, and the antihelix is the inner ridge that the rook and the snug sit on. Once you know those four landmarks, most ear piercing names make sense on their own.
Types of ear piercings at a glance
Here is every placement from the chart in one table. Pain is a rough, personal scale, the same one we use in our guide to which piercings hurt the most. Healing ranges match our piercing healing time chart; your own piercing can sit at either end of the range, or take longer.
| Placement | Where exactly | Typical pain | Typical healing | Usual jewellery |
|---|---|---|---|---|
| 1. Lobe | Soft, fleshy bottom of the ear | Low | 6 to 8 weeks | Stud, then hoops once healed |
| 2. Upper lobe | Higher on the lobe, before the cartilage starts | Low | 6 to 8 weeks, sometimes a little longer | Small flat-back stud |
| 3. Helix | Upper outer rim of the ear | Low to medium | 3 to 12 months | Flat-back stud, hoop once healed |
| 4. Forward helix | Front of the rim, just above where the ear meets the face | Low to medium | 3 to 12 months | Small flat-back stud |
| 5. Flat | Flat cartilage between the rim and the inner ridge | Low to medium | 3 to 12 months | Flat-back stud |
| 6. Industrial | Two holes in the upper rim joined by one bar | High | Often 6 to 12 months | Long straight barbell |
| 7. Rook | Upper end of the inner ridge (antihelix) | High | 3 to 12 months | Curved barbell or small ring |
| 8. Daith | Innermost fold of cartilage, just above the ear canal | High | 3 to 12 months | Ring |
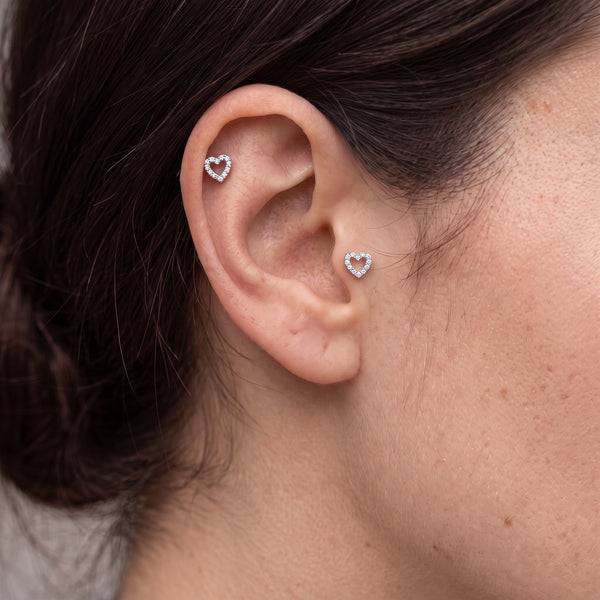
| 9. Tragus | Small flap in front of the ear canal | Medium | 3 to 12 months | Flat-back stud |
| 10. Anti-tragus | Small bump opposite the tragus, above the lobe | Medium to high | 3 to 12 months | Curved barbell or flat-back stud |
| 11. Snug | Lower part of the inner ridge, inside the ear | Medium to high | 3 to 12 months | Curved barbell |
| 12. Conch (inner) | Centre of the bowl of the ear | Medium | 3 to 12 months | Flat-back stud |
| 13. Conch (outer) | Flat cartilage between the inner ridge and the rim | Medium | 3 to 12 months | Flat-back stud |
| 14. Orbital | One ring through two close holes, often on the lobe or helix | Depends on the spot | Depends on the spot: lobe or cartilage range | Ring through both holes |
The pattern is easy to remember: the lobe is soft and quick, outer cartilage is a firm pinch with a long heal, and the deeper you go into the folds of the ear, the more pressure you'll feel and the more your anatomy matters.
Lobe piercings: lobe and upper lobe
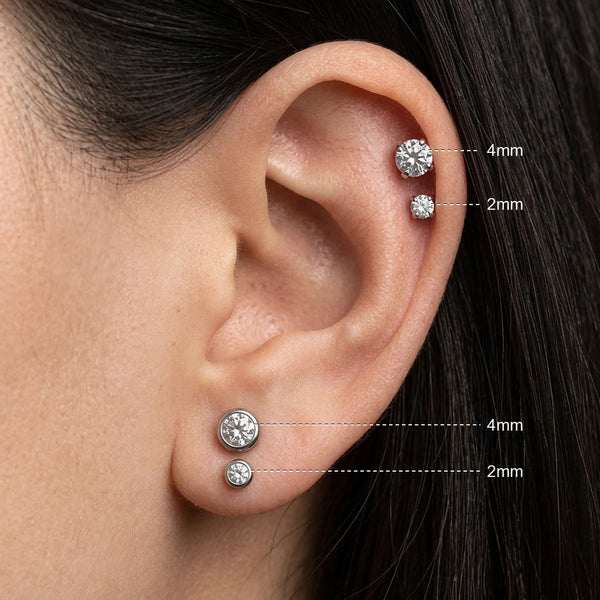
The lobe (1) is the classic first piercing: soft tissue, no cartilage, and the shortest heal of any ear placement. Once healed, it's also the most flexible spot for styling, from tiny studs to hoops.
An upper lobe (2) sits higher on the same fleshy part, before the cartilage begins. Many people stack two or three lobe piercings in a line or a gentle curve. The tissue gets a little firmer as you go up, so the top hole may feel more like a pinch and can take slightly longer to settle.
Outer cartilage: helix, forward helix and flat
Everything along and just inside the outer rim of the ear is cartilage, so healing is slower and these spots dislike pressure. Sleeping on that side, hair, hats and the arms of your glasses are the usual troublemakers.
Helix
The helix (3) goes through the upper outer rim. It's the most common cartilage piercing and a natural next step after the lobe. You can place one or several along the rim. A flat-back stud is the usual starting point, because a hoop moves more and can slow healing; a hoop is generally fitted once the piercing is fully healed.
Forward helix
The forward helix (4) sits at the front of the rim, just above where the ear joins the head. It's often done as a small vertical line of two or three tiny studs. The area is narrow, so small flat-back tops work best.
Flat
The flat (5) is pierced through the wide, flat cartilage in the upper ear, between the rim and the inner ridge. It's a good spot for a slightly bigger decorative top, since nothing curls over it. Expect the usual cartilage healing time and avoid sleeping on it.
Inner ear: conch, rook, daith and tragus
Inside the rim, the cartilage gets thicker and more folded. These are the types of cartilage piercings people ask about most, and the ones where the shape of your ear matters most.
Conch
The conch sits in the bowl of the ear. An inner conch (12) goes through the centre of the bowl; an outer conch (13) goes through the flatter cartilage between the inner ridge and the rim. Both are thick cartilage, so expect more pressure than a helix and some swelling at first. Earbuds pressing on the jewellery are a common cause of setbacks.
Rook
The rook (7) goes vertically through the upper end of the inner ridge, the antihelix, just above the daith. It needs a defined ridge with enough room, and it's usually done with a curved barbell. Its channel is slightly awkward, so it doesn't like being fiddled with.
Daith
The daith (8) passes through the innermost fold of cartilage, right above the ear canal. It's normally done with a ring, fitted with room for swelling. It's tucked away and rarely slept on, but earbuds and hair can still bother it.
Tragus
The tragus (9) is the small flap of cartilage in front of the ear canal. A small flat-back stud is the usual choice, because anything bulky gets in the way of phone calls and earbuds. Opposite it, above the lobe, sits the anti-tragus (10), a smaller bump that not every ear has enough of to pierce.
Bar piercings: the industrial and two-hole styles
An industrial (6) is two cartilage piercings joined by one long straight bar, usually from the forward helix area across to the back of the upper rim. Because both holes heal on the same bar at a fixed angle, any knock moves both at once, which is why it's often quoted at around 6 to 12 months. It also depends heavily on anatomy: the rim needs to be flat enough for the bar to sit close to the ear without pressing on it.
An orbital (14) is a different idea: two close holes, often on the lobe or the helix, linked by one ring. Many piercers heal each hole separately first and only join them afterwards, so its healing follows the lobe or cartilage range, depending on where it sits.
Ear piercing placement: what your anatomy decides
Every ear is shaped differently, and some placements simply need a specific fold or ridge. A good piercer checks your anatomy before anything else and tells you honestly if a spot won't work.
- Rook: needs a defined upper ridge with enough space underneath.
- Daith: needs an inner fold deep enough for a ring to sit comfortably.
- Snug (11): this horizontal piercing through the lower inner ridge needs a pronounced ridge; on flatter ears it isn't possible or gets irritated easily.
- Industrial: needs an upper rim shaped so that a straight bar can sit without pressure.
- Tragus and anti-tragus: need enough cartilage to hold the jewellery without it sitting too close to the ear canal.
- Lobe, helix, flat and conch suit almost everyone, which is why they're the usual starting points.
Planning several? Think about how they'll sit together, and how many you heal at once: more fresh cartilage piercings mean more spots to protect at night. Our guide to building a curated ear covers combinations; this chart is simply about knowing where each placement is.
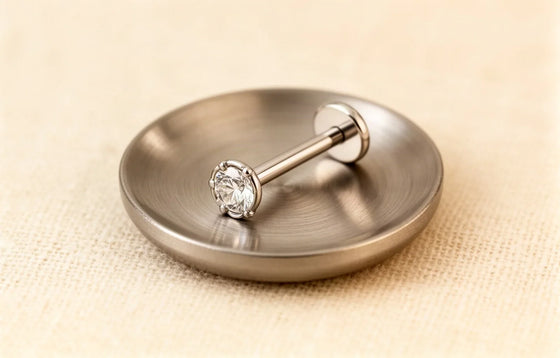
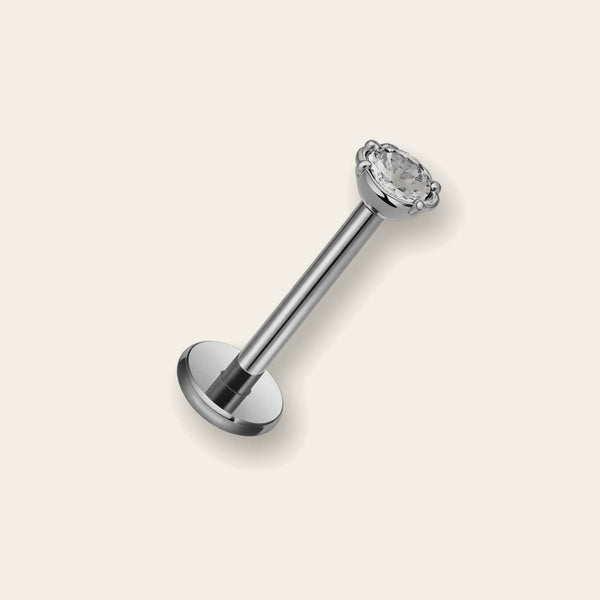
Whatever you choose, start with a light, well-fitted piece in a body-friendly metal. Aurea's titanium jewellery, such as the titanium flat-back labret, is made from implant-grade ASTM F136 titanium, the kind of metal piercers commonly use for fresh piercings.
Frequently asked questions
What are the ear piercing names, from top to bottom?
Going round the ear: industrial and helix along the upper rim, forward helix at the front, flat and rook in the upper ear, daith, tragus and conch around the bowl and the canal, snug and anti-tragus lower down, then upper lobe and lobe at the bottom. The chart above numbers each one.
Which ear piercing hurts the least?
The lobe, by far: a quick pinch and the easiest heal. Outer cartilage like the helix is a firmer pinch, and the inner folds such as the daith and rook bring a stronger pressure. Pain is still very personal.
What's the difference between a rook and a daith?
Both sit in the inner folds of the ear. The rook goes vertically through the upper end of the inner ridge; the daith passes through the fold just above the ear canal. A rook is usually worn with a curved barbell, a daith with a ring.
Which cartilage piercing heals fastest?
None is really quick: most ear cartilage placements share the same typical range of 3 to 12 months, and the industrial often takes 6 to 12. Where yours lands depends mostly on how well it's protected from pressure and knocks. If you want a quick heal, the lobe is the easiest ear piercing, at around 6 to 8 weeks.
— Shop this guide


Knowing the names is the easy part. Pick a placement that suits your ear, let a piercer confirm it, and give cartilage the time it needs; this chart will still be here when you're planning the next one.