— The guide
How to Put In a Nose Ring: Studs, Hoops and Every Closure
How to put in a nose ring step by step: when it's safe, hygiene, every stud and hoop closure, and what to do when it won't go in.

Learning how to put in a nose ring is mostly about two things: waiting until your nostril is truly healed, and knowing exactly how your jewellery closes. A threadless stud, a nose screw and a hinged hoop all go in differently, and the one mistake almost everyone makes is pushing harder when it doesn't slide in. This guide walks you through every common nose closure step by step, plus what to do when the jewellery won't go in, stings or swells. For a quick overview of all piercings, see our general guide to changing or removing a piercing; this one goes deeper on the nose.
Is your nose piercing ready to change?
Before you think about how to change a nose ring, check the piercing itself. A nostril can look calm on the outside while the tunnel inside is still fragile. Changing too early is the most common cause of irritation bumps, swelling and a hole that suddenly feels tight. The usual minimum quoted for a nostril is a few months, and many need longer. Signs it's probably ready:
- No tenderness when you touch around it or blow your nose.
- No crusting, discharge or redness for several weeks.
- The jewellery moves freely without pulling at the skin.
- Your piercer has already downsized the post, or confirmed it's healed.
If any of these aren't true yet, keep going with your routine from our aftercare and healing guide and wait. For the very first change, asking your piercer to do it (and show you how) is the easiest option.
Know your nose jewellery before you start
Before you take anything out, identify what's in your nose now and what you're putting in. The closure decides the whole technique.
| Jewellery | How it's held | How it comes out | Good to know |
|---|---|---|---|
| Flat-back labret, threadless | Tension of a slightly bent pin | Pull the top straight off | Easiest to change often |
| Flat-back labret, internally threaded | Top screws into the post | Unscrew the top | Very secure, check it now and then |
| L-shape | A 90° bend inside the nostril | Pivot, then pull | Simple, can slip out |
| Nose screw | A curled end inside the nostril | Turn along the curve | Secure once you get the knack |
| Nose bone | A small ball at the end | Firm, straight pull | Not ideal for frequent changes |
| Hinged clicker ring | A segment that clicks shut | Open the hinge | The easiest hoop to handle |
| Seamless ring | Tension of the metal | Twist the ends apart | Clean look, needs a gentle hand |
Before you start: hygiene and setup
- Wash your hands thoroughly with soap and dry them on a clean paper towel.
- Clean the new jewellery with sterile saline and lay it on a clean tissue.
- Check the gauge and length. Nose jewellery is commonly 18G or 20G, and the new piece should match what's in your nose now. Our gauge and size guide explains how to read the sizes.
- Set up a calm spot: a mirror, good light and, if you're over a sink, the plug in. Tiny tops vanish fast.
- Soften the area with a saline spray or a warm shower first, so any dried crust doesn't catch on the post.
How to put in a nose stud, step by step
Take the old jewellery out first, following its closure in the table above, then put the new one in straight away: a nostril can start to tighten quickly once it's empty.
Flat-back labret, threadless (push-pin)
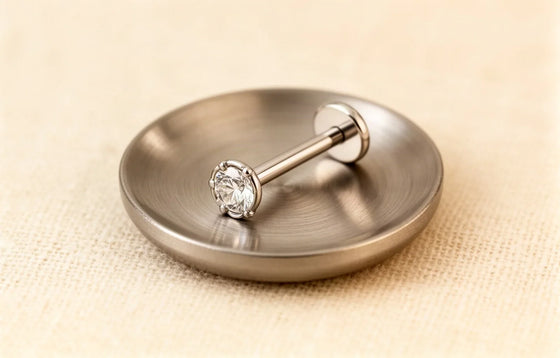
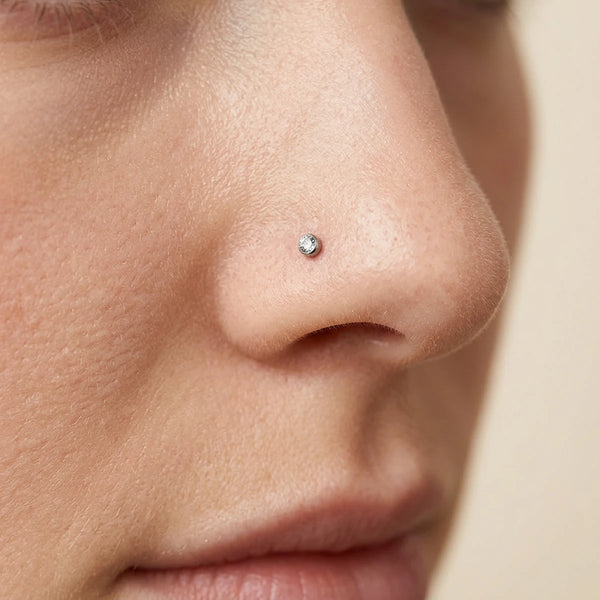
The disc sits inside your nostril and the decorative top pushes in from outside. Tilt your head back, hold the post by its disc, and slide the bare post through the hole from inside until the open end appears at the front. Then take the top and push its pin into the post until you feel it grip. If the top feels loose, a very slight bend in the pin adds tension; ask your piercer if you're unsure, because over-bending makes it hard to remove.
Flat-back labret, internally threaded
Same idea, but the top screws in. Push the post through from inside, then hold the disc steady with a fingertip inside your nostril while you turn the top clockwise until it's snug. Don't overtighten: firm is enough. Check it every so often, as threaded tops can loosen with time.
L-shape
Put the short end into the hole from outside, pointing straight in. Push gently until the bend reaches the hole, then pivot the post so the foot of the L lies flat along the inside of your nostril. To remove it, reverse the movement: pivot, then draw it out.
Nose screw
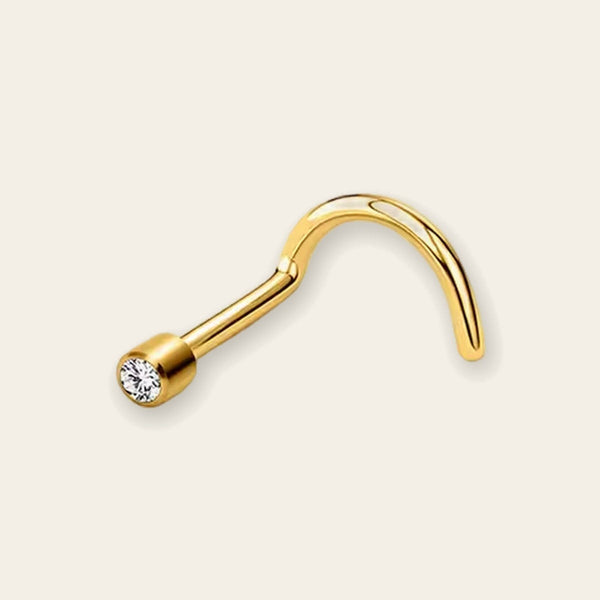
Place the tip of the curl into the hole from outside. Instead of pushing, turn the stud slowly in the direction of its curve, letting the curl follow its own path until the top sits flat against your nostril. It takes a few tries the first time. Looking at the curve before you start, so you know which way it turns, helps a lot.
Nose bone
A nose bone has a small ball at the end, only slightly wider than the post. It goes in with one short, firm, straight push, and the ball keeps it in place. That push can feel uncomfortable, which is why nose bones suit fully settled piercings that you won't change often. If it doesn't go through with gentle pressure, stop rather than force it.
How to put in a nose hoop
Hoops move and rotate more than studs, so wait until your nostril is well healed and settled before switching. Make sure the diameter isn't too small: a hoop that presses on the edge of the nostril can irritate it.
Hinged clicker ring
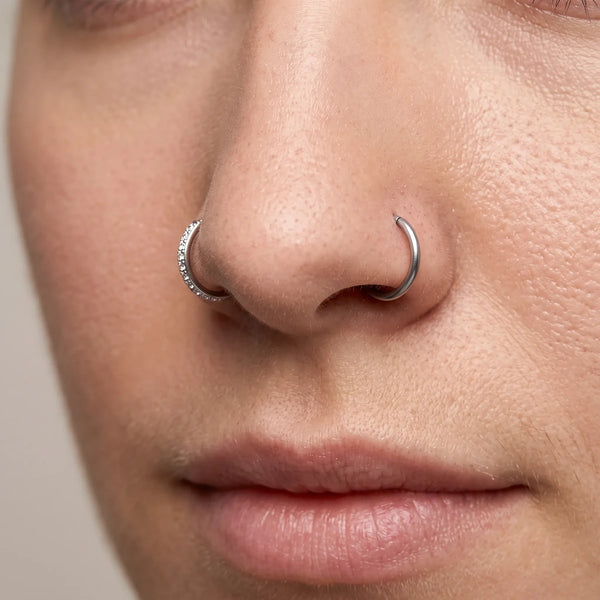
Swing the hinged segment open. Slide the free end of the ring into the hole from outside, then gently rotate the ring until it's through. Close the segment by pressing it back into place until you hear or feel the click. Check it's fully shut before you let go. A titanium nose ring with a clicker closure is the most beginner-friendly hoop for this reason.
Seamless ring
Never pull the ends apart sideways: it bends the circle out of shape. Instead, twist them apart front to back, just enough to clear your nostril wall. Feed one end through the hole from outside, rotate the ring into position, then twist the ends back until they meet flush. Rigid seamless rings can be hard to open by hand, and a piercer can do it in seconds.
Hoop or stud: which suits your nose?
- Stud: moves less, catches less on towels and tops, and is the safer choice for a newer piercing or for sleeping.
- Hoop: a bolder look, but more movement and more snagging, so it's best on a fully healed nostril.
- Both: many people keep a flat-back titanium nose stud for everyday and switch to a hoop for evenings. If you do, change carefully each time and stop swapping if the piercing gets tender.
Troubleshooting: when your nose ring won't go in
- It won't slide through. Nostril piercings are usually angled slightly up towards the bridge of the nose. Follow that natural angle rather than pushing straight across, and wet the post with saline.
- You can't find the hole from inside. Push the old jewellery partway back in from outside to see the angle, or line the new post up while watching the outside hole in the mirror.
- It feels tight. The hole may have started to close, or the new piece is a thicker gauge. Don't force it: a piercer can reopen it cleanly with an insertion taper.
- It hurts or bleeds. Stop. Put the original jewellery back if you can, clean with saline and leave it alone for a few days.
- It's swollen or red after a change. It may have been too early, the post may be too short, or the metal may not suit you. Go back to the old piece and see your piercer. If you notice heat, pus or worsening pain, read our guide to an infected piercing; a small bump at the hole is covered in our guide to a piercing bump.
Frequently asked questions
How to put in a hoop nose ring for the first time?
Open the clicker or twist the seamless ring open front to back, feed one end through the hole from outside, rotate it through, then close it. Go slowly and follow the angle of your piercing. If it's your first hoop, ask your piercer to show you once.
How long should I wait before changing my nose ring?
Until the nostril is fully healed, not just calm on the surface. That's at least a few months, and often longer. No tenderness, no crusting and jewellery that moves freely are good signs; if in doubt, ask your piercer.
Can I change my nose ring myself?
Yes, once it's healed and you know how your jewellery closes. Clean hands, clean jewellery, a mirror and no forcing. For the first change, having your piercer do it is the easiest way to learn.
Why won't my nose ring go back in?
Usually the angle is off, the hole has tightened, or the new piece is thicker. Follow the natural angle, use a little saline, and if it still resists, let a piercer reopen it with a taper.
How fast does a nose piercing close?
It depends on how old it is. A young piercing can tighten within hours, while an older one may stay open longer. Nostrils tend to shrink quickly, so have the new jewellery ready before you take the old one out.
Nostril, high nostril, septum or bridge? Our guide to the types of nose piercings explains each placement and the jewellery it takes.
— Shop this guide



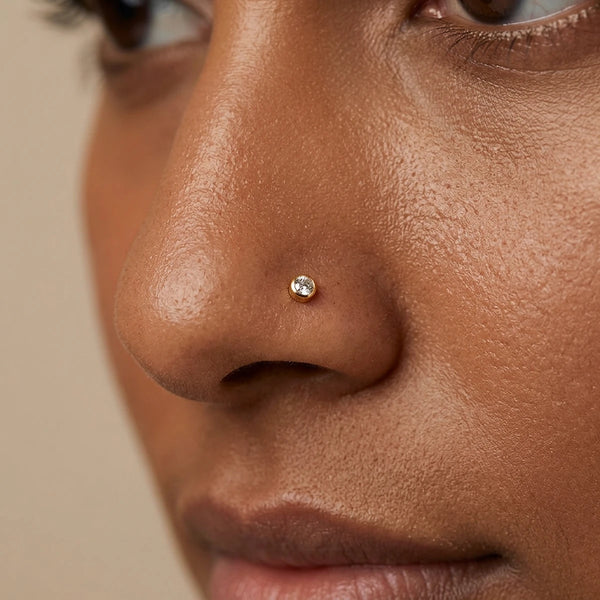
Putting in a nose ring gets easy once you know your closure: patience before the first change, clean hands, the right angle and never forcing it. Have a look at our nose piercing jewellery when you're ready for a new look.